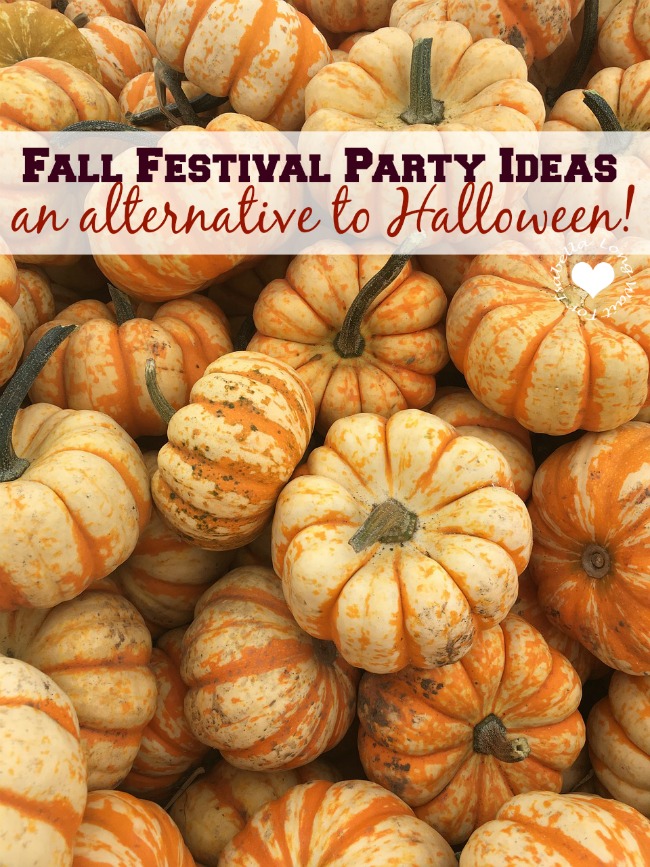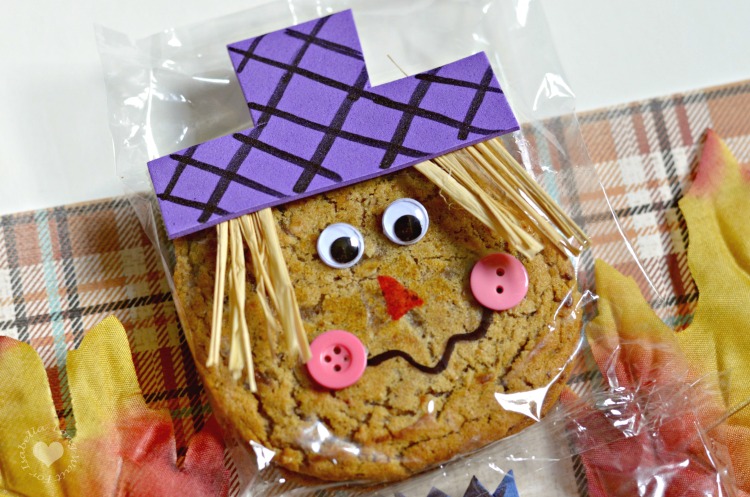
A fun an easy kids craft and snack idea are Cookie Scarecrows. Simple crafting techniques is all it takes to turn a Little Debbie Oatmeal Creme Pie into a fun Scarecrow. It’s perfect for the Fall season. Kids of all ages will love it. It’s perfect for the kids’ lunch box, their classroom snack, a church fall festival, or even a fun children’s ministry idea.
Plus, it’s Little Debbie Oatmeal Creme Pies — that’s a fun Fall treat!
Supplies Needed:

- Little Debbie Oatmeal Crème Pies (I used the large ones, but the small ones work too.)
- Crafting Foam or Construction Paper
- Raffia
- Googly Eyes
- Buttons
- Scissors
- Tape
- Glue
- Black and Orange Sharpies
[amazon_link asins=’B00284NN82,B06VSH45LS,B01LWIYJH3,B01BRGU8R0,B0000DH8HQ,B06X9DLDCJ’ template=’ProductCarousel’ store=’wpplugin01-20′ marketplace=’US’ link_id=’3e5e48a3-d57b-11e8-a3f4-1d5cd0aaca3d’]
Cookie Scarecrows Directions:
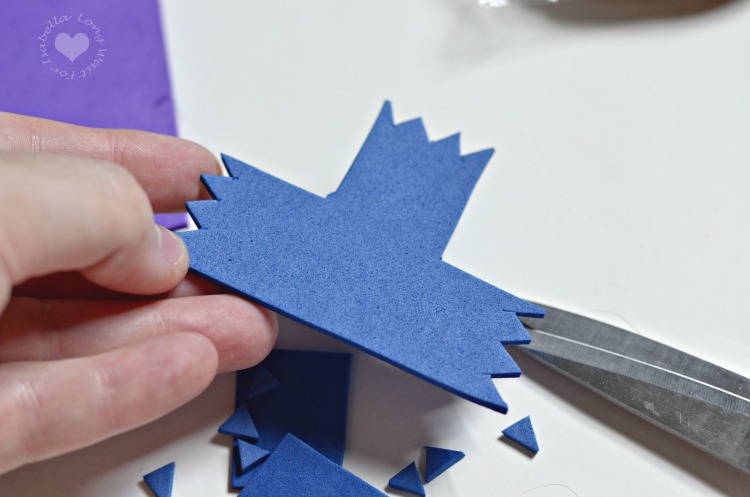
1. Using the crafting foam or construction paper, cut out a hat.
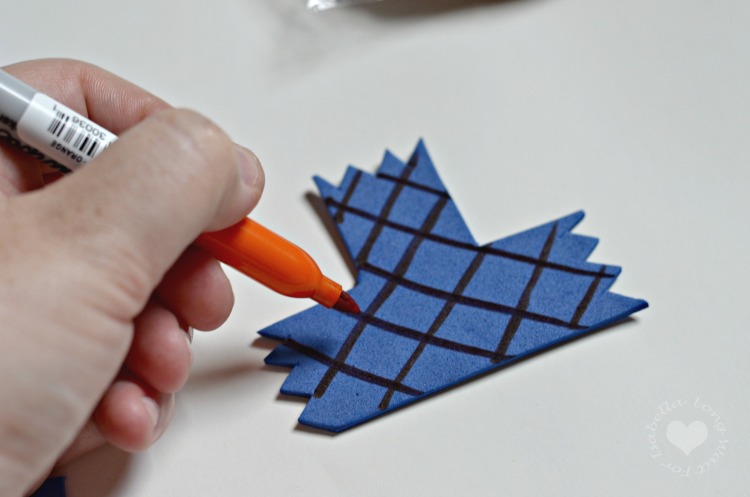
2. Then, using one of the Sharpies, decorate the front with some type of design. Get creative with shapes and varying designs.
3. Cut some raffia for the scarecrow’s straw (1.5 – 2 inches in length).
4. Tape the raffia to either side of the back of the hat.

5. Glue the hat to the front of the oatmeal crème pie package. There is a packaging seam on the back, so it’s easy to figure out which side is the front.
6. Glue on the googly eyes.
7. Using the orange Sharpie, draw on a triangular nose. You may have to go over the triangle with the marker 2-3 times so that it shows up well.
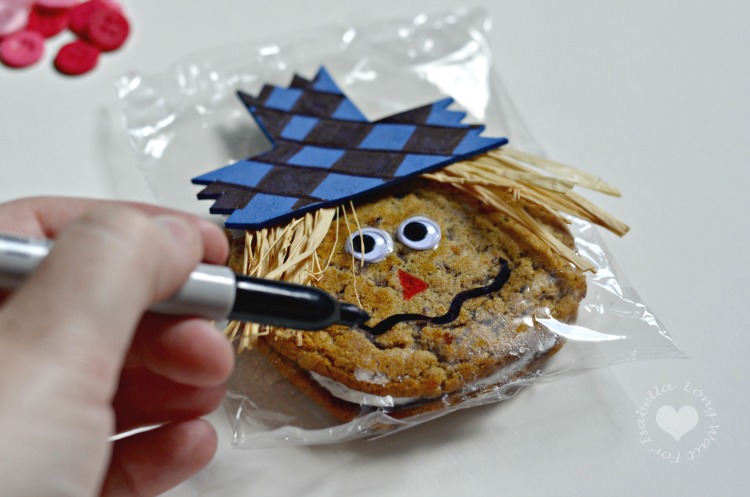
8. Using the black Sharpie, draw on a mouth.
9. Glue on the button cheeks and let everything dry.

Note: When gluing on the hat, I recommend holding the cookie package upright so that the cookie falls to the bottom of the package. Then glue the hat on. If you don’t do this, when someone picks up the cookie, the hat and other features may not line up well with the cookie and it won’t look right.
You might also like: